
Plan · Free and premium
Use Dining Buddy with a restaurant menu
Capture a menu, review interpreted dishes, and compare choices with your goals and restrictions.
Before you start
AI → Dining Buddy, or Camera → More modes → Menu
Have ready
- A readable menu
- Current dietary preferences
- Internet access
Step by step
Walkthrough
- 01
Open the menu scanner
Choose Dining Buddy from AI or Menu from the camera mode sheet.
- 02
Capture complete menu sections
Photograph the dish names and descriptions in sharp, even light. Take another image for additional pages when supported.
- 03
Review interpreted dishes
Check dish names, possible ingredients, translations, and estimated nutrition.
- 04
Compare recommendations
Use the goal and preference context as a starting point, then confirm ingredients and cross-contact with the restaurant.
What you will see
These screens show the current app layout. Platform-specific labels and controls are noted below.
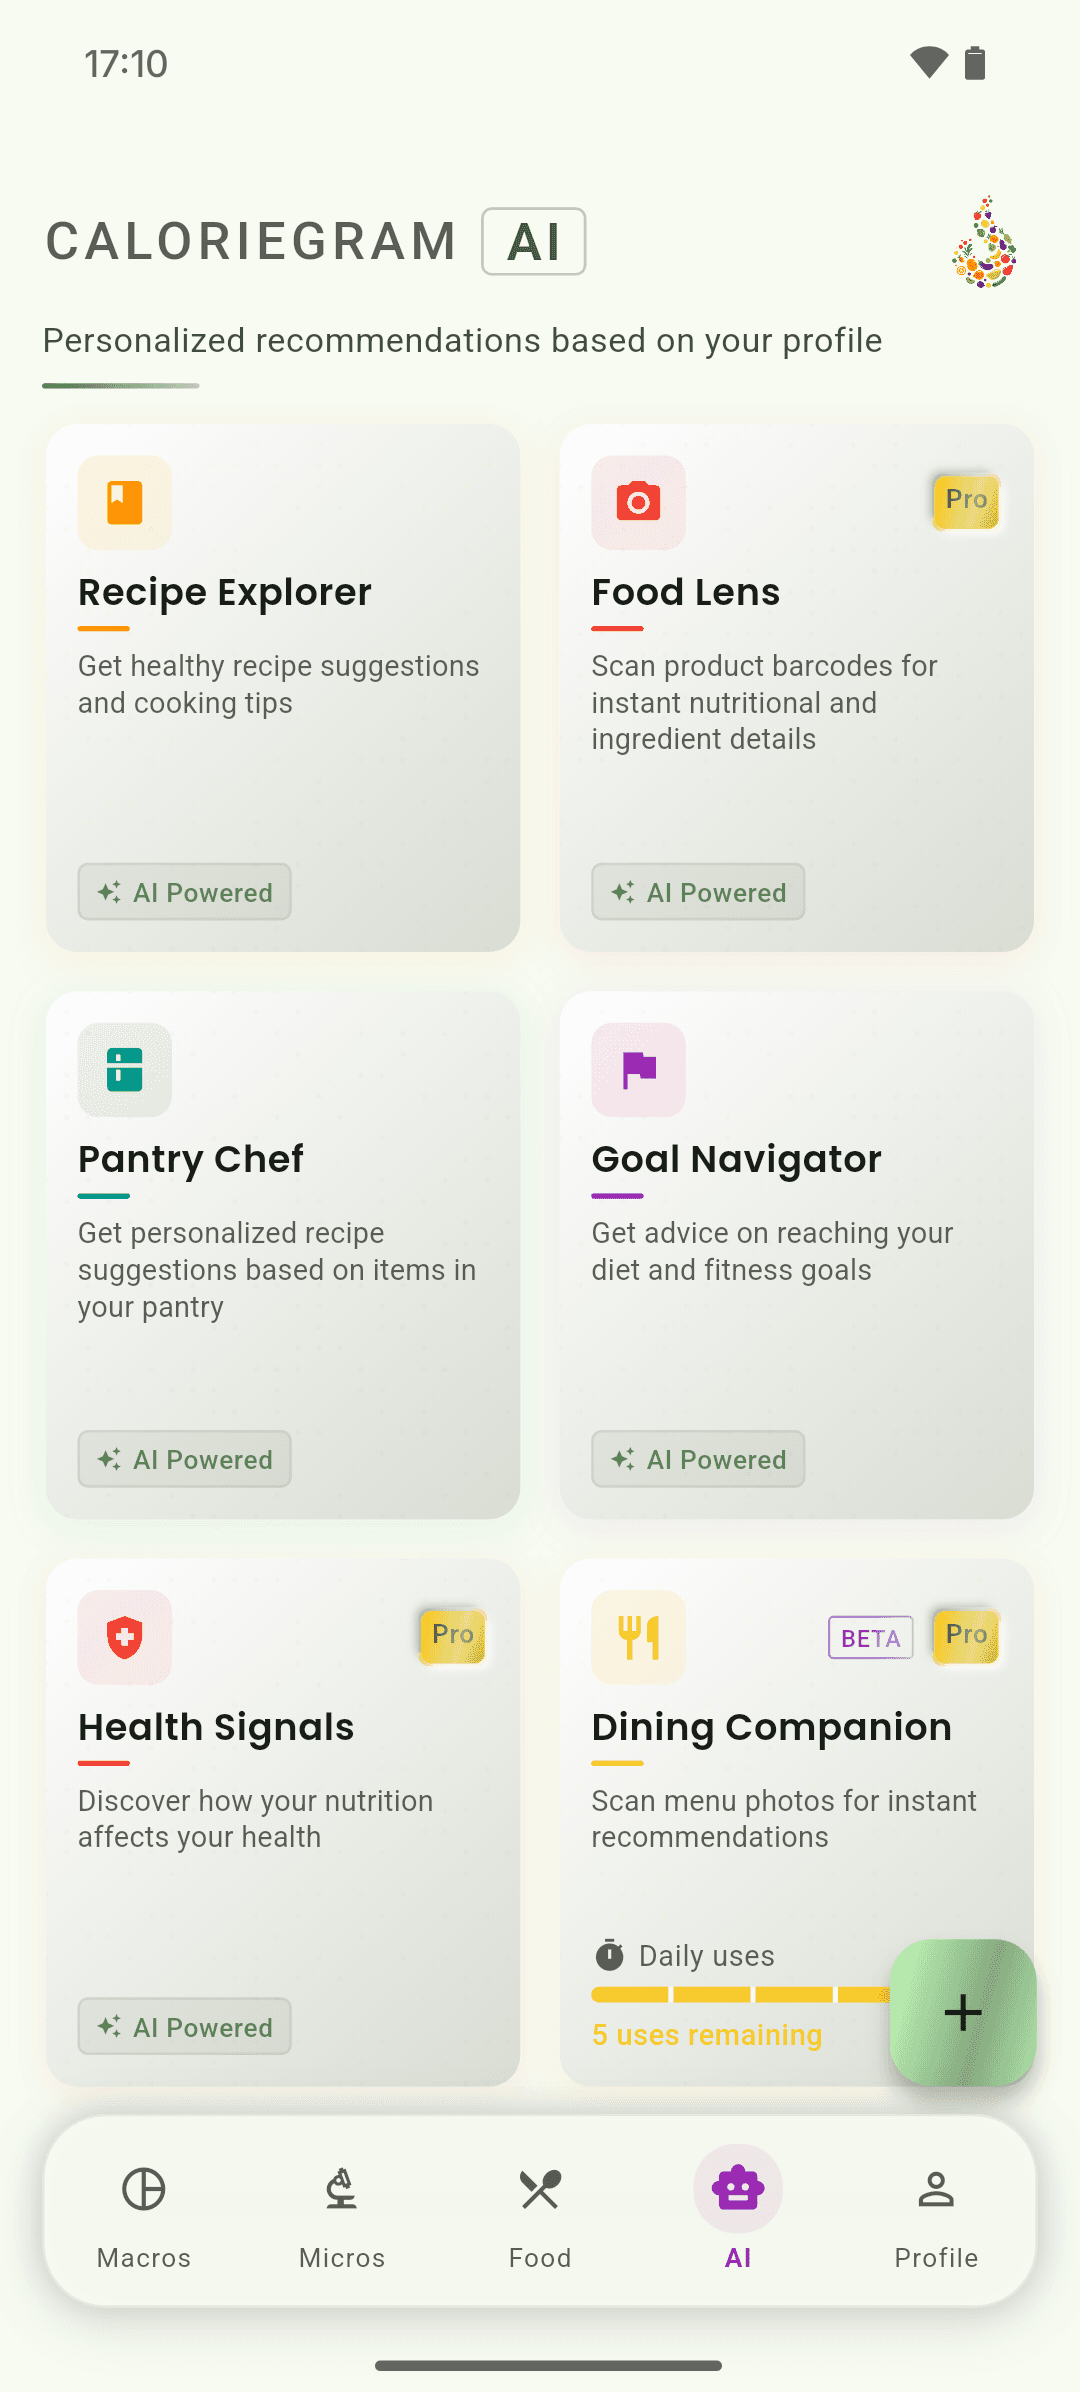
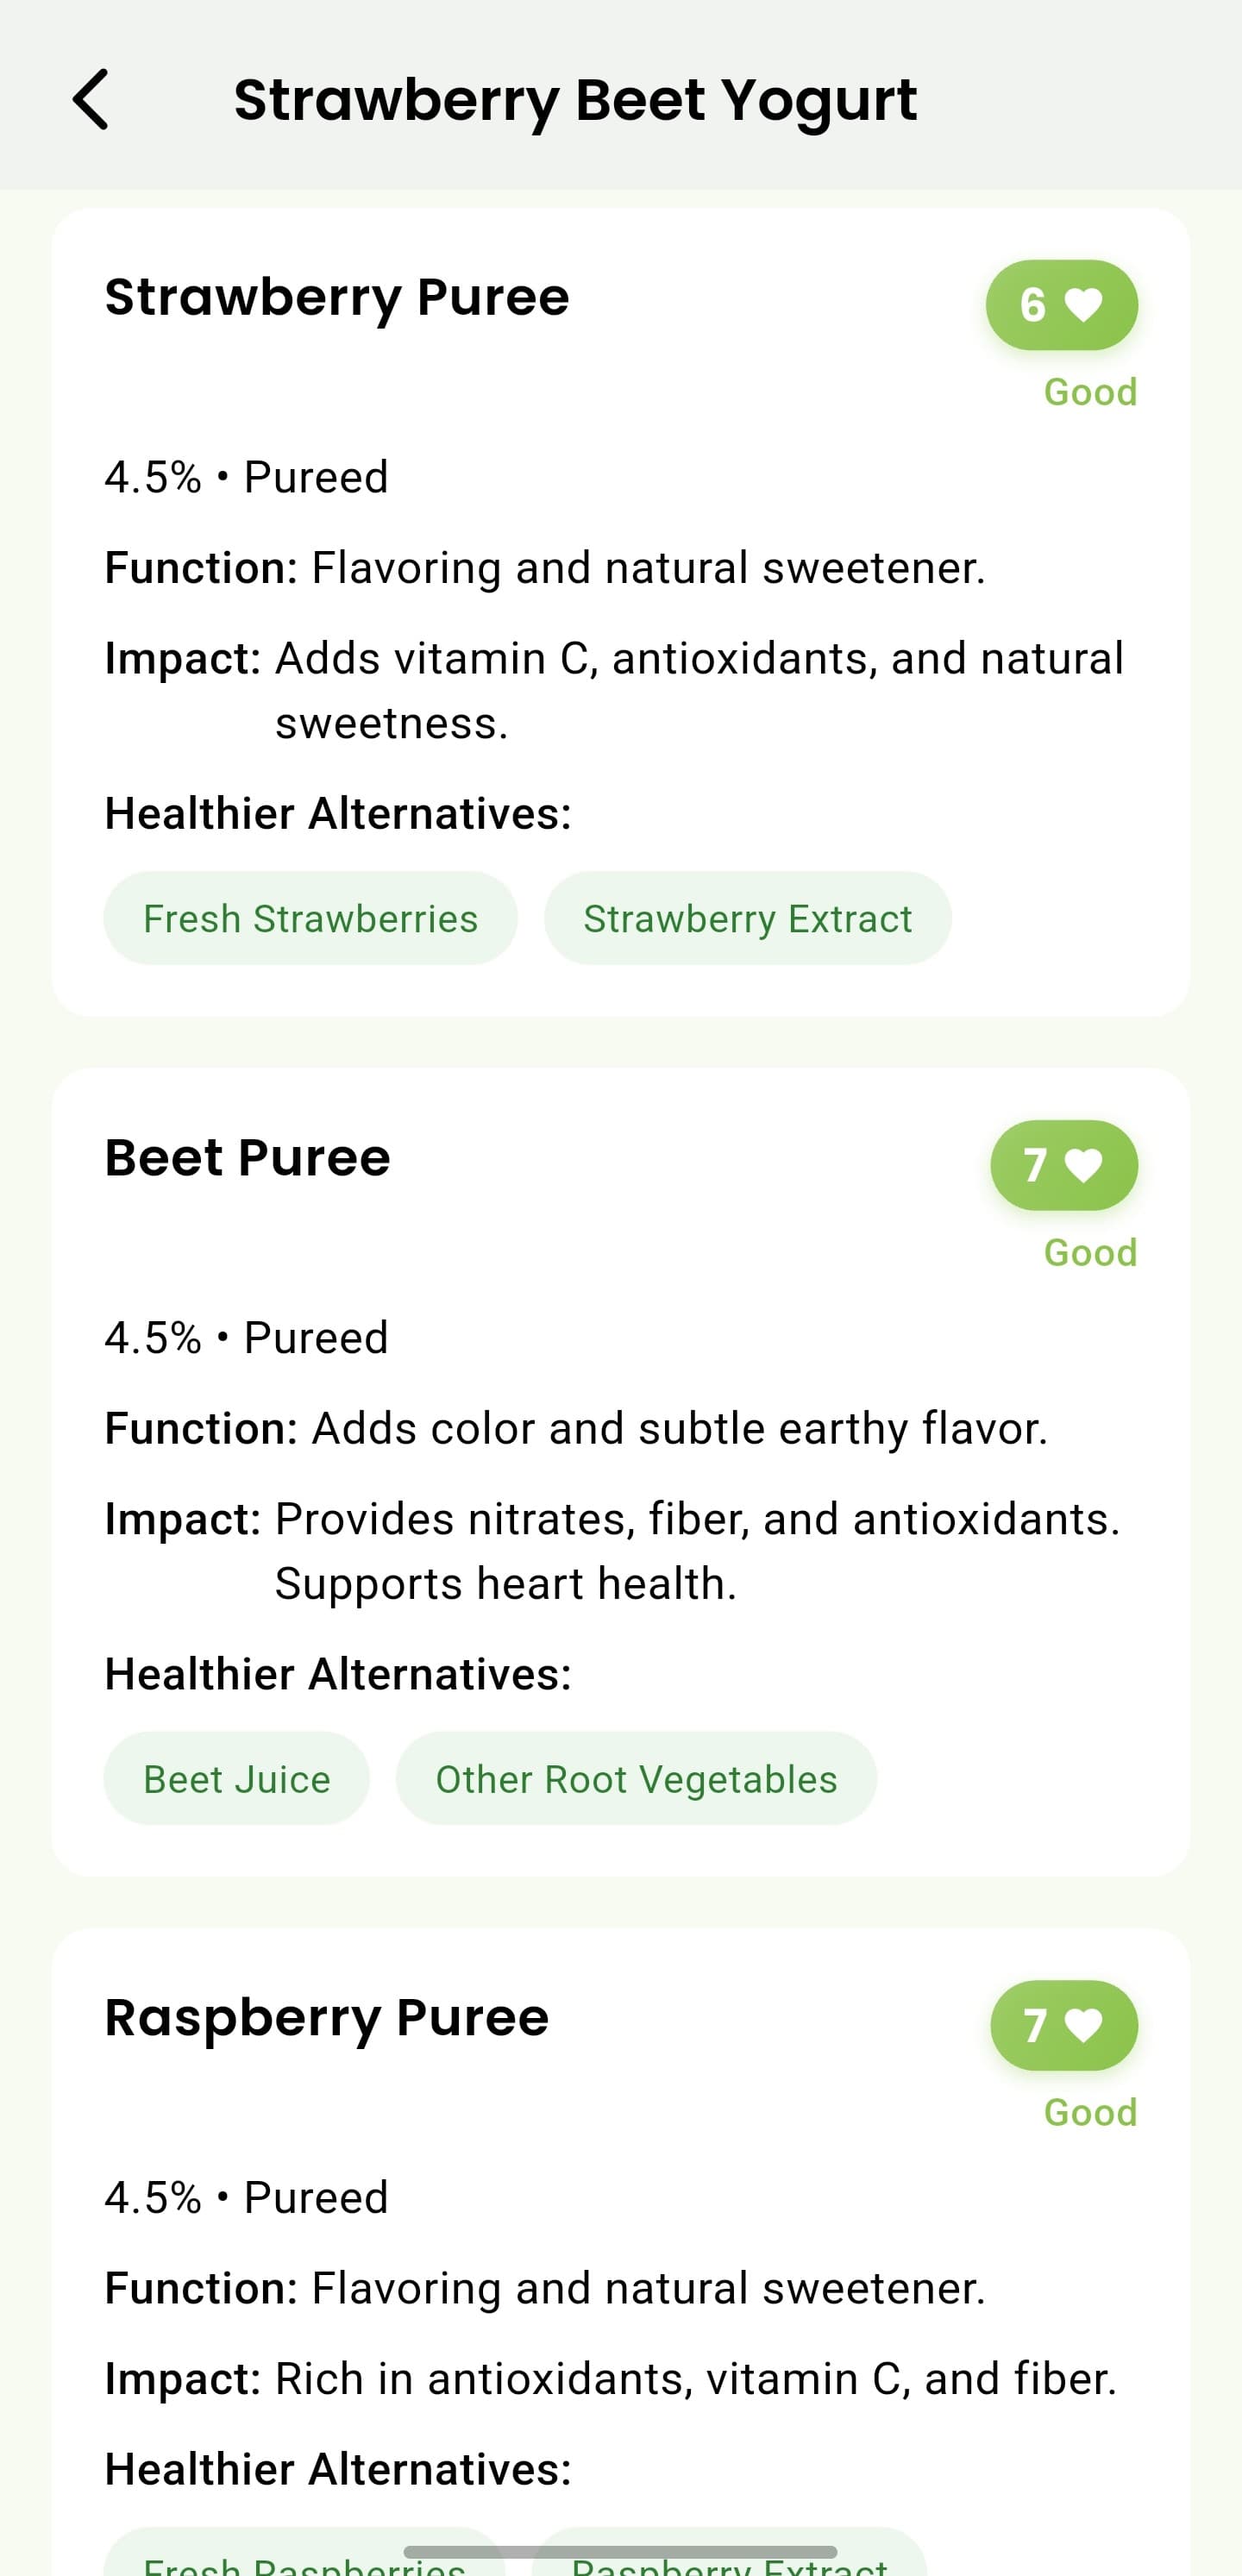
iOS and Android
iOS
- Restaurant preparation and portions can differ from the menu description.
Android
- Restaurant preparation and portions can differ from the menu description.
If something looks wrong
- Capture one menu section at a time if text is too small.
- Ask restaurant staff about allergies and cross-contact; do not rely on an estimate.
Keep learning
Still need a hand?
Tell us which step you reached and what you expected to happen. We will help you find the next move.
Contact support